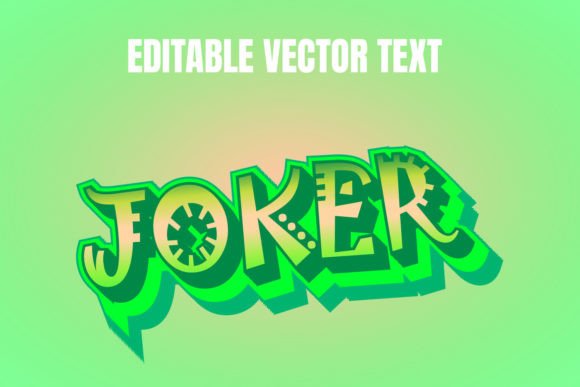
Mastering the Joker Editable Vector Text Effect for Professional Design
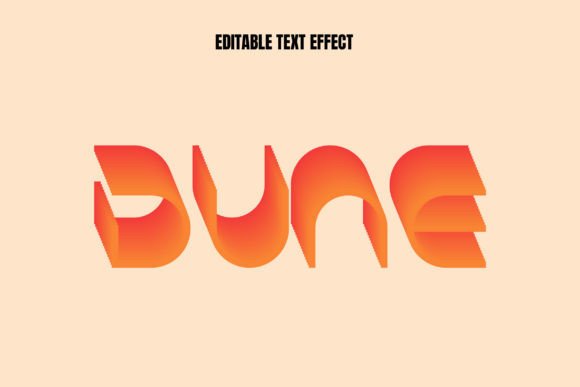
The chaotic energy of Gotham’s most infamous villain has become a staple in modern graphic design, particularly for projects requiring a bold, unsettling, or high-impact aesthetic. Whether you are designing a Halloween event poster, a comic book cover, or a edgy brand identity, the Joker editable vector text effect offers a versatile solution. However, many designers, from enthusiastic beginners to seasoned freelancers, stumble when integrating these assets into their workflows. The difference between a amateurish composition and a polished professional piece often lies in how well you understand the technical nuances of the file you are using.
When you download a Joker editable vector text effect EPS file, you are not just getting a pretty image; you are acquiring a complex set of instructions for your design software. Misunderstanding how these files work can lead to frustrating editing sessions, distorted typography, and final outputs that look pixelated or unprofessional. This guide aims to correct common misconceptions and provide practical advice on selecting and utilizing these effects effectively.
Understanding the File Format: Why EPS Matters
One of the most frequent mistakes creators make is overlooking the file format. Many users assume that any "editable" text effect will work seamlessly in their preferred software, whether it is Adobe Illustrator, Photoshop, or a free alternative like Inkscape. However, an EPS (Encapsulated PostScript) file behaves differently than a standard AI or PSD file.
An EPS file is a universal vector format. While this ensures compatibility across different platforms, it also means that certain advanced features specific to Adobe Illustrator might not translate perfectly. For instance, live effects or dynamic shadows included in the original creation may be expanded or rasterized upon opening in non-Adobe programs. If you are not aware of this, you might spend hours trying to edit a shadow or gradient that is actually a static image layer, leading to unnecessary frustration and wasted time.
To avoid this, always check the software requirements listed by the creator. If you are using Illustrator, ensure you have the latest version to support all potential features. If you are using other software, be prepared to work with expanded paths rather than live, editable parameters. This foresight saves you from the disappointment of discovering that the "editable" aspect is more limited than anticipated.
The Trap of Non-Standard Fonts
A critical, yet often overlooked, detail in using a Joker editable vector text effect is the font dependency. Most high-quality text effects rely on specific typefaces to achieve the desired jagged, chaotic, or smeared look associated with the character. When you purchase or download an EPS file, the font used in the preview is rarely embedded in the file itself due to licensing restrictions.
If you do not install the required font before opening the file, your design software will substitute it with a default typeface, such as Arial or Times New Roman. This substitution breaks the entire effect. The distortions, warps, and vector masks applied to the text are calibrated for the specific geometry of the original font. Applying them to a different font results in misaligned layers, broken shapes, and a generally messy appearance.
Practical Advice: Always read the documentation or readme file included with your download. It will specify exactly which font is needed. Download and install this font on your system before opening the EPS file. If the font is paid, consider purchasing it to support the type designer and ensure you have the legal right to use it in your commercial projects. If you must use a free alternative, choose one with similar weight and structure, but be prepared to manually adjust the vector effects to fit the new letterforms.
Scalability and Resolution Misconceptions
Vector graphics are prized for their scalability, but this benefit is nullified if the text effect contains raster elements. Some designers create "vector" effects by placing bitmap textures, grunge overlays, or noise patterns over vector shapes. While the text itself remains scalable, these overlay elements do not. If you scale up the design for a large format print, such as a banner or billboard, these raster components will become pixelated and blurry.
Before committing to a specific Joker editable vector text effect, zoom in to 400% or more on the preview or the file itself. Check the edges of the grunge details and shadows. If they appear soft or pixelated, they are likely raster images. For small web graphics, this may not matter. However, for professional print work, this is a significant quality issue.
To ensure high-quality results, look for effects where the distressing and texture are created using vector paths or patterns. These will remain crisp at any size. If you must use a file with raster elements, ensure they are high-resolution (300 DPI or higher) at the intended print size. This attention to detail prevents costly reprints and maintains the professional integrity of your work.
Color Modes and Print Readiness
Digital screens display colors in RGB (Red, Green, Blue), while printers use CMYK (Cyan, Magenta, Yellow, Key/Black). A common error among beginners is designing in RGB mode and then attempting to print the final product without conversion. The vibrant purples and greens often associated with the Joker’s aesthetic can shift dramatically when converted to CMYK, resulting in dull or muddy colors.
When working with a Joker editable vector text effect, start your document in the correct color mode from the beginning. If your project is for digital use, stick to RGB. If it is for print, set your document to CMYK. Be aware that some neon or highly saturated colors in the original effect may not be reproducible in print. You may need to manually adjust the color values to find the closest possible match within the CMYK gamut.
Additionally, check for overprint settings. Some vector effects use overprinting to create depth or blending. If these settings are not configured correctly for your printing process, you may encounter unexpected white gaps or color overlaps in the final printed piece. Consulting with your printer early in the design process can help you avoid these technical pitfalls.
Customization Beyond the Preset
Finally, many users treat these effects as rigid templates, afraid to modify them beyond changing the text. This hesitation limits creativity and can result in designs that look generic. The true power of an editable vector file lies in its flexibility. You can adjust anchor points, modify gradient stops, change stroke weights, and rearrange layers to better suit your specific composition.
For example, if the default purple hue clashes with your brand colors, do not simply accept it. Use the direct selection tool to isolate the color fills and adjust them to match your palette. If the grunge effect is too heavy for your clean layout, reduce the opacity of the texture layers or delete some of the smaller debris vectors.
By treating the Joker editable vector text effect as a starting point rather than a final product, you gain full control over the aesthetic. This approach allows you to maintain the thematic essence of the design while ensuring it aligns perfectly with your project’s unique requirements. Remember, the goal is not just to use the effect, but to master it, turning a pre-made asset into a custom-designed element that enhances your visual communication.